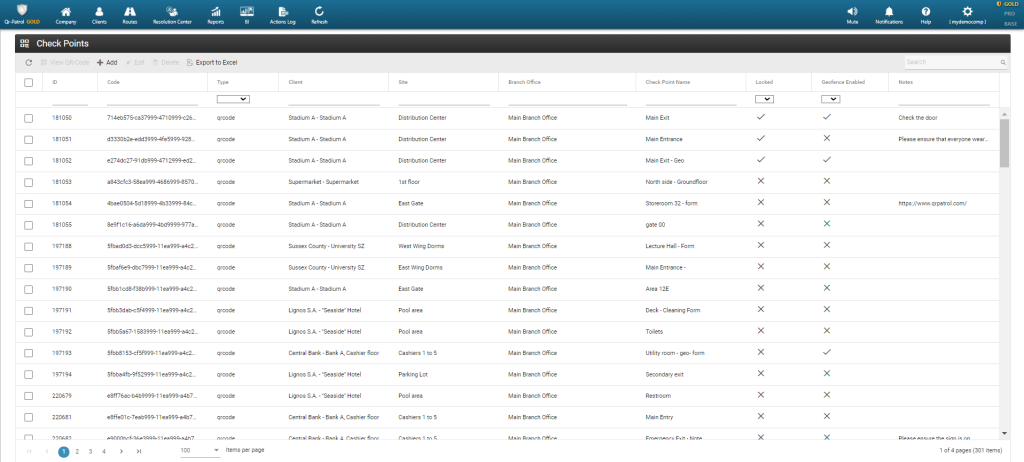
QR-Patrol supports 4 different checkpoint types: QR-Codes, NFC tags, Beacons and Virtual (location-based checkpoints). Checkpoints are physically (or virtually) placed in specific locations (buildings / assets), in order to allow for flexible management and monitoring. You can access the Checkpoints panel by clicking on the top left “Company” tab and select “Checkpoints.
By clicking on Chekpoints, the above screen appears. You can now view the ID of each checkpoint, the Check Point Code, the Client/Site on which it has been assigned to and a Name/description of the Check Point (e.g. Back door) as well as some Notes regarding the specific checkpoint, which will appear on the mobile application at the time a guard scans this checkpoint.
The attribute “locked” means that the checkpoint cannot be assigned to another site via the mobile app.
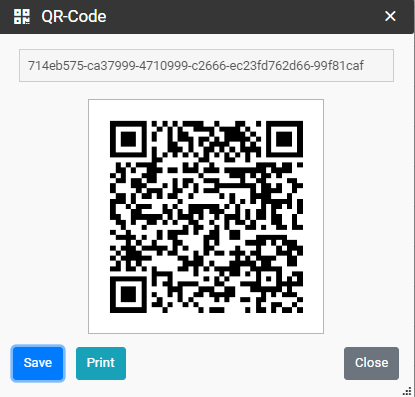
View QR-code
By clicking on “View QR-code” a new popup dialog (as shown on the right) shall come up. You can now check the QR-code and all the information about it.
You can also scan the QR-code if you run QR-Patrol mobile application, Save the QR-code as a PNG image file on your computer or Print it.
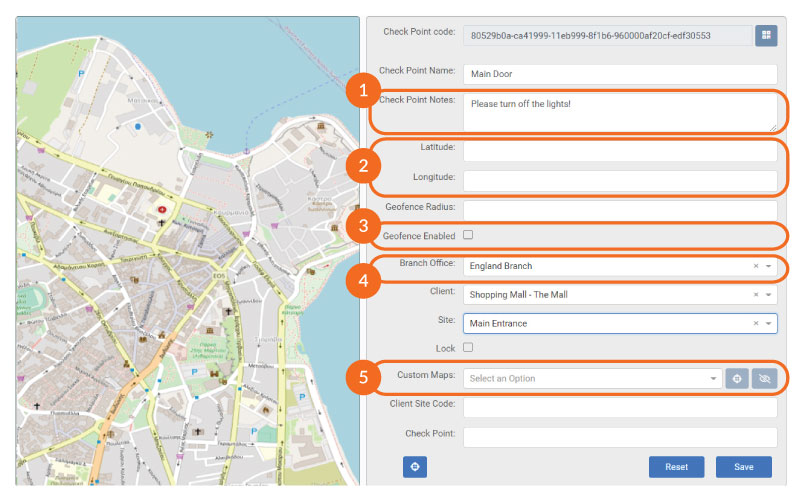
Edit a checkpoint
1
Notes to the guard when he scans the check point.
2
Insert latitude
and longtitude
parameters
3
Enable geofence
functionality
4
Select a Branch Office/Client/Site
5
Assign a Custom Map to a checkpoint – this way you can specify its location easily on top of your own map
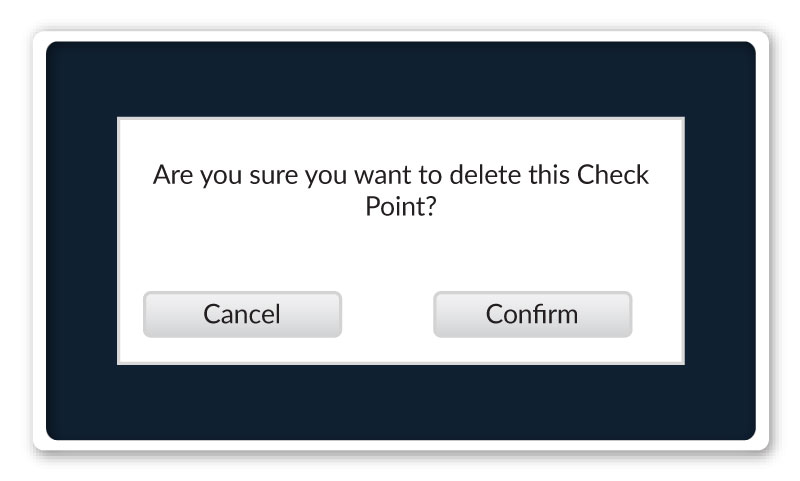
Remove Checkpoint
To remove a Checkpoint select one from the list and click on the “Delete” button.
If the Check Point cannot be removed, then it is assigned on a schedule route and you should firstly remove it from the schedule”.
Export to Excel
By clicking the “Export to Excel” button, you can export the entire Checkpoints page grid and all its related information.