SOS Button Assignment


- Enter the left menu and press on “Settings”.
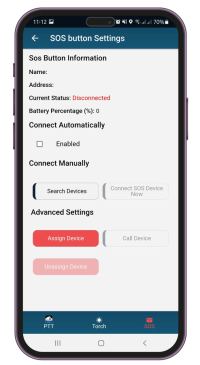
- Press “Settings” button under “SOS Button” section.
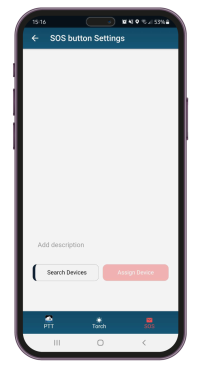
- Press “Assign Device” button under “Advanced Settings” section.
- Press the SOS button device for 3 seconds until you hear the buzzer – this way the SOS button will stop being in “sleep” mode. Then, press “Search Devices”.
- Enter the device’s description under respective section.
- Press “Assign Device”.
That’s it! After a few seconds, the SOS button device will be assigned to your device! A short green message will appear: “SOS Button assignment submitted successfully to the service”. Important: You must wait for a while until you also see a green message “Application Data Synced”. After that you are ready to connect to your SOS Button device!
- Navigate to Settings page on QR-Patrol mobile application.
- Press “Settings” button under “SOS Button” section.
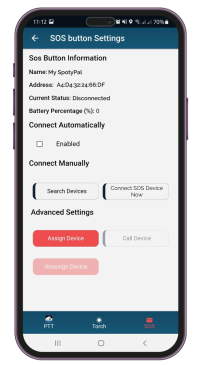
- Press “Search Devices” button under “Connect Manually” section; the system will automatically find your closest SOS button device.
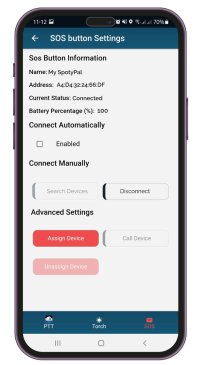
- Press on “Connect SOS Device Now”.

Once connected, you can “Call” the SOS Button device (for example to locate it) and of course you can “Unassign” it.
You also have the option to enable auto – connection (check the respective checkbox Under SOS Button Settings).
In case of a false alarm, for example if the Guard presses on the SOS button device by accident, they have the option to cancel the SOS event sending, using their PIN within a timeframe of 30 seconds.


