If you want to report an Incident or emergency, press the Incident button on the main patrol screen.
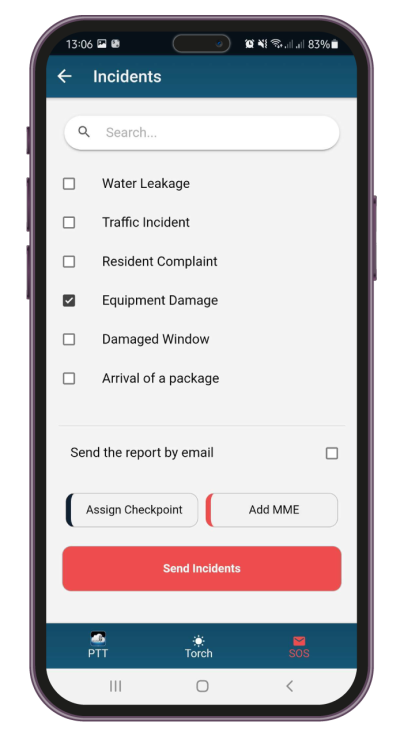
The Incidents list will appear *:
Note:For the Incidents list to appear, the Manager first needs to create Incident Types through the Web App. More information can be found here.
To report an Incident, simply select it from the list; you can also report multiple Incidents at once.
Add Multimedia elements to an Incident
If you want to add a more detailed description to your Incident, press the Add MME button.
In the next screen, you can capture multiple photos, a video/sound recording, and add your text and signature.
Assign Incidents to Clients/Sites
Assigning an Incident to a Client/Site is useful as it will associate it with the respective location, meaning that the Clients can receive a notification of what happened in real time (more information here .
It is also helpful for the Managers in control, as they can quickly identify the location of the Incident and save time from investigation.
To assign an Incident to a Client/Site, press the Assign Checkpoint button; from there, select the type of checkpoint you want to scan and scan it – that’s it!
If there is no checkpoint around, you can utilize the List option**; simply press the Select from a List option and find the one that you want to assign the Incident to.
Note:For the List option to appear, the Manager first needs to enable the relevant setting on the Guard’s edit page. More information can be found here.