Clients are all the customers of a company which own the specific buildings and assets in which the checkpoints are placed and the guard tours are executed. You can access the Clients’ List panel by clicking on the top Navigation Bar on “Clients” tab and select “Clients List” , as shown on the right.
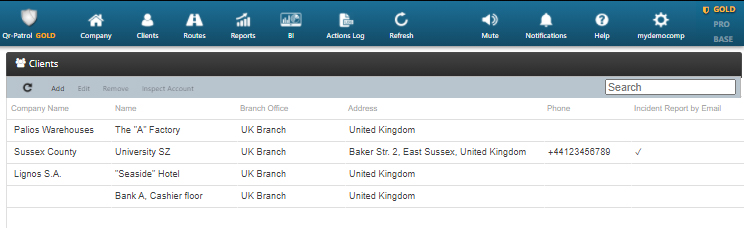
You can see a list of all of your clients’ details and whether they receive Incident reports via e-mail. You can add a new client, edit, remove or search existing clients and see a full list of details about each client by clicking on Details.
Add a client
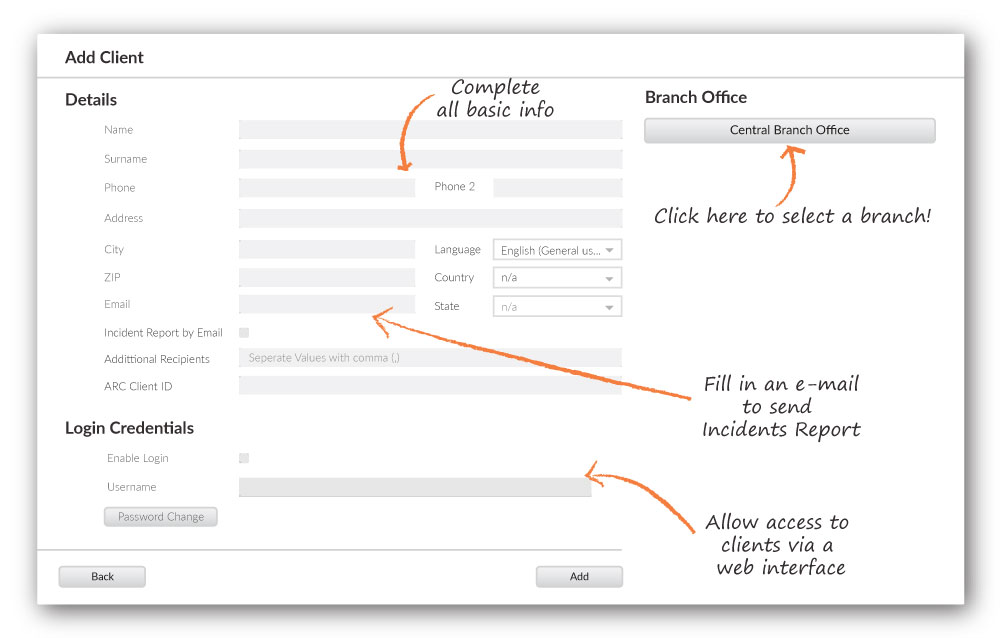
By clicking “Add client” a new dialog (as shown below) will come up. You can add information like:
- All basic contact information (Name, Phone, Address, ZIP, Country, Language, etc.)
- An e-mail to receive Incident Reports
- Credentials in order to gain access to QR-Patrol client interface and monitor guard events on your sites.
- Manage client sites. (Add, Edit, Remove sites and manage Checkpoints).
- Export Sites to an excel file.
By clicking “Add”, a new client will be added. Click on the New client and then click on Edit button or just double click on the client. A new dialogue box will come up with all the necessary edit options and a new Sites tab.
You can now add your first site for the selected client by simply clicking on “Add” button on the sites tab.
Add a client site
In the “Add Client Site” Panel, you can:
- Add a client site
- Edit a client site
- Manage Check Points
- Remove a client site
- Export client sites to an excel sheet
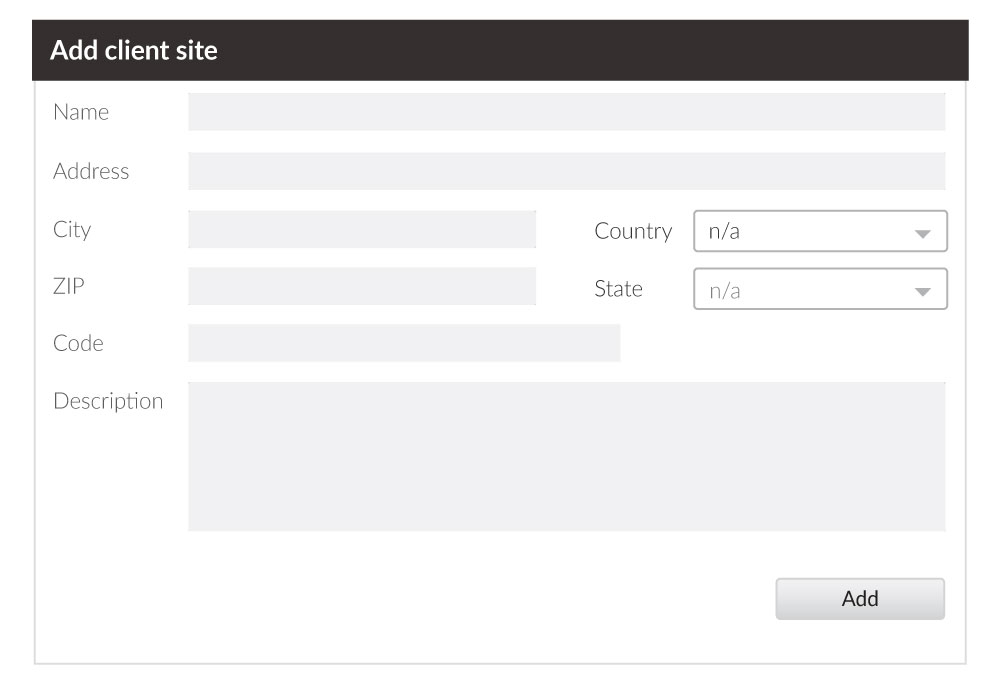
On the Client sites panel, click on “Add”. A pop up window appears with all the basic information to add for the new site.
Manage Checkpoints
You can manage the checkpoints of the site you choose, by selecting “Manage Check Points” on the Add / Edit Client section. A new screen appears consisting of two seperate fields:
- Assigned Checkpoints, meaning the checkpoints that have been already assigned to the current site.
- Available Checkpoints, meaning all the checkpoints that are available in order to be assigned to a specific site.
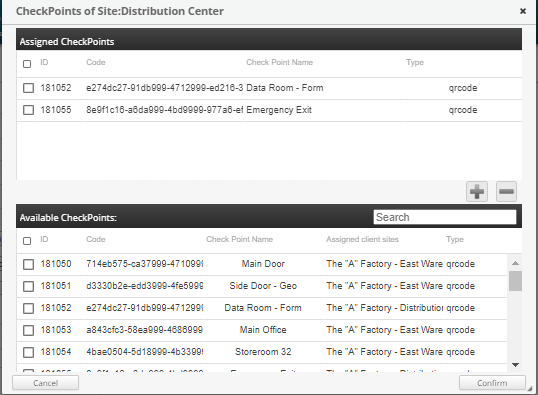
Assign a checkpoint to the site by simply clicking on it (in the list of the available checkpoints.)
Immediately it turns yellow. By pressing the plus button(+) the checkpoint appears in the list of the assigned checkpoints. In the same way, you can remove checkpoints from the list of assigned chekpoints by simply clicking on the checkpoint and clicking on the minus button(-).
In any case,click on the Confirm button to confirm your action or Cancel if you do not wish to change the assigned checkpoints.

Edit Client Site
To edit one of your clients sites you have to select one from the list of the sites you have added.
Clicking on “Edit” will bring up a popup similar to the one of adding a new client site.
You can now edit all basic information like Name, Phone, Address,
Remove Client Site
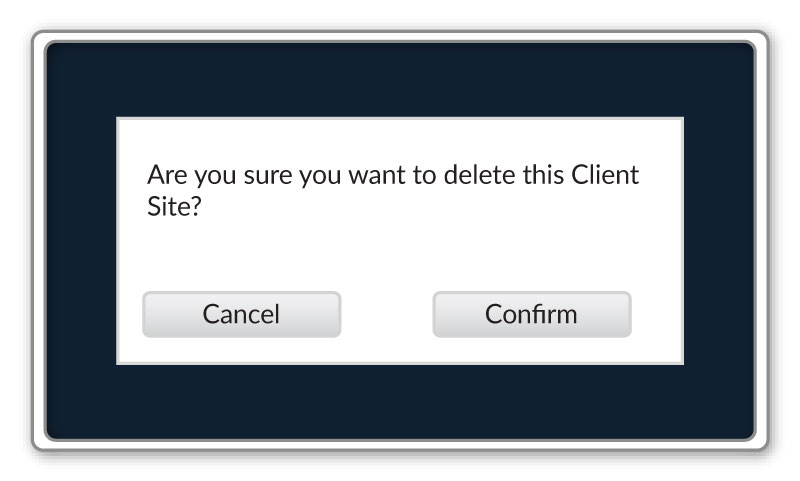
To remove one of your client sites you have to select one from the list of your client sites.
After selecting from the list, you can click on “Remove” , which in turn will bring up a confirmation popup window. By confirming the action, the selected client site shall disappear from the list of your client’s sites.